Home
How to Organize the Cabinet Under the Kitchen Sink
The kitchen is one of the most-used spaces in a home, so kitchen organization can be hard to maintain. That under-sink cabinet is a tricky one. When it comes to storage, plumbing and a garbage disposal make the space tricky. It’s always felt like a challenge maximize storage space with easy access to the back of the cabinet. Spray bottles, trash bags, and other products get in the way and before you know it, the whole thing is a mess. And if you’re me, add a 30-40 year old shelf liner – so gross. I’m no professional organizer, but I love an organization project as much as any virgo and want to share how I organized my cabinet under the kitchen sink.
How to Organize the Cabinet Under the Kitchen Sink
I can’t believe I let our under-sink area get as gross as I did. But we moved into our house with two young kids, and I was pregnant a month later. The bottom of the cabinet was so gross – it desperately needed to be cleaned. I’ll share the exact items I purchased, similar items, and others that I considered, too. I’m so glad finally tackled our kitchen sink cabinet – it feels so good when I open it – I now have a place for everything. Here are some kitchen sink organization ideas to help you tackle this project.
See the Full Before and After Video
Step 1 – measure and order
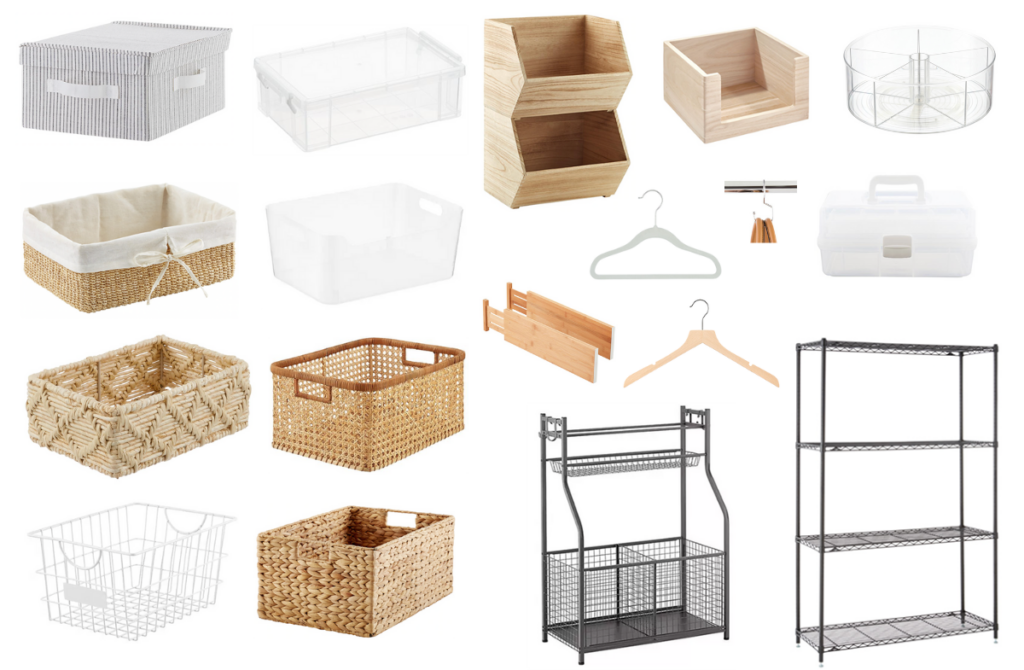
The first thing I did was measure the width and depth of the cabinet before cleaning. The most difficult part is fitting things around plumbing and the garbage disposal. There are expandable shelves that can fit in around (and through) plumbing but opted for typical shelves that weren’t too deep or wide.
Then I browsed the internet (Amazon and The Container Store) for storage solutions and came up with a plan. Make sure you consider plumbing and that you have enough room for the shelving or bins you plan on ordering. You’ll want to make sure you order the right size shelf liner, too.
Step 2 – empty and clean
Removing everything from the cabinet and the shelf liner. Clean the area and purge/discard anything you do not need.
Sep 3 – add shelf liner
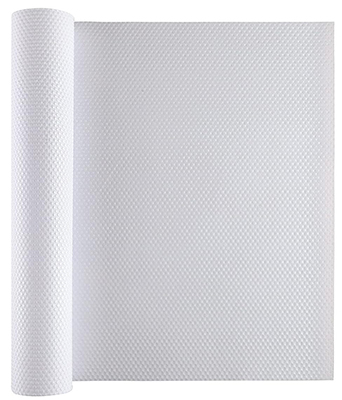
Use a tape measure to measure your cabinet. Add a water-resistent shelf liner. Use an x-acto knife to cut around any edges.
Use a tape measure to measure the width, depth and height of your under sink space. Don’t forget to measure your actual cabinet door opening.
Use a water-resistant shelf liner to protect your cabinets from dripping sponges and cleaning supplies.
Step 4 – add under-sink organizers
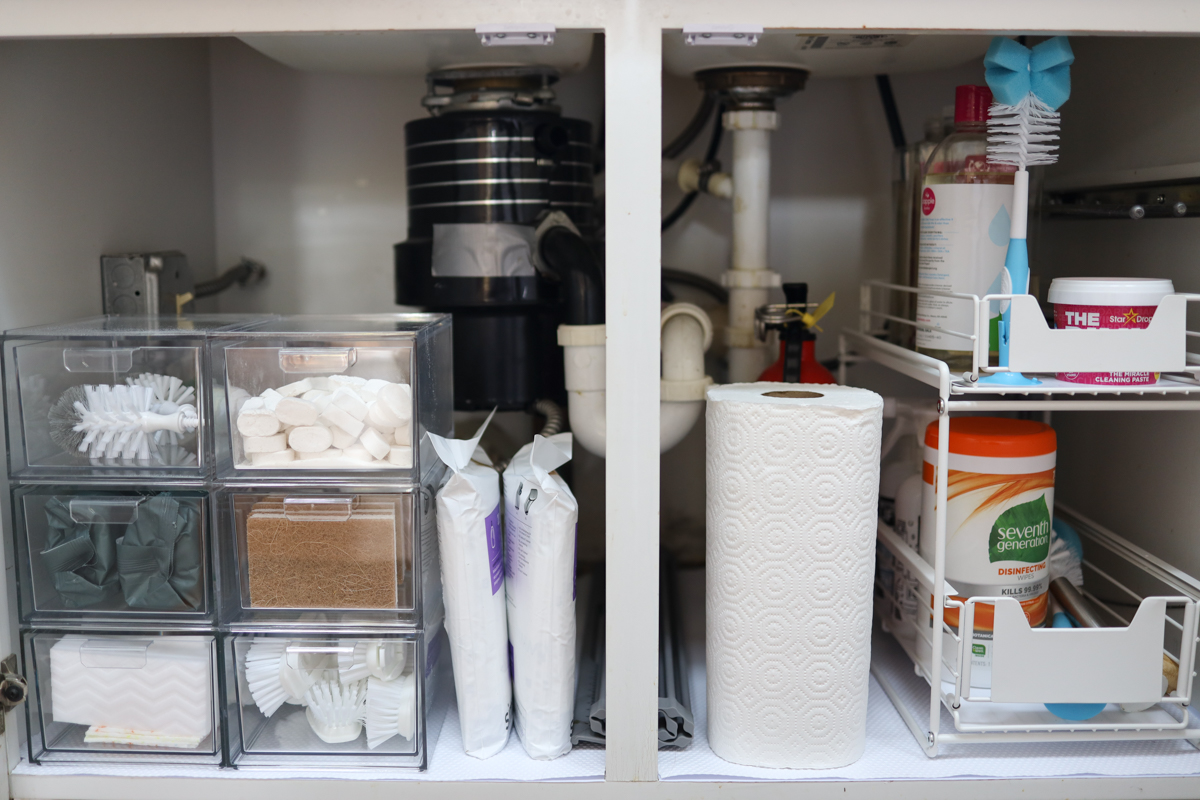
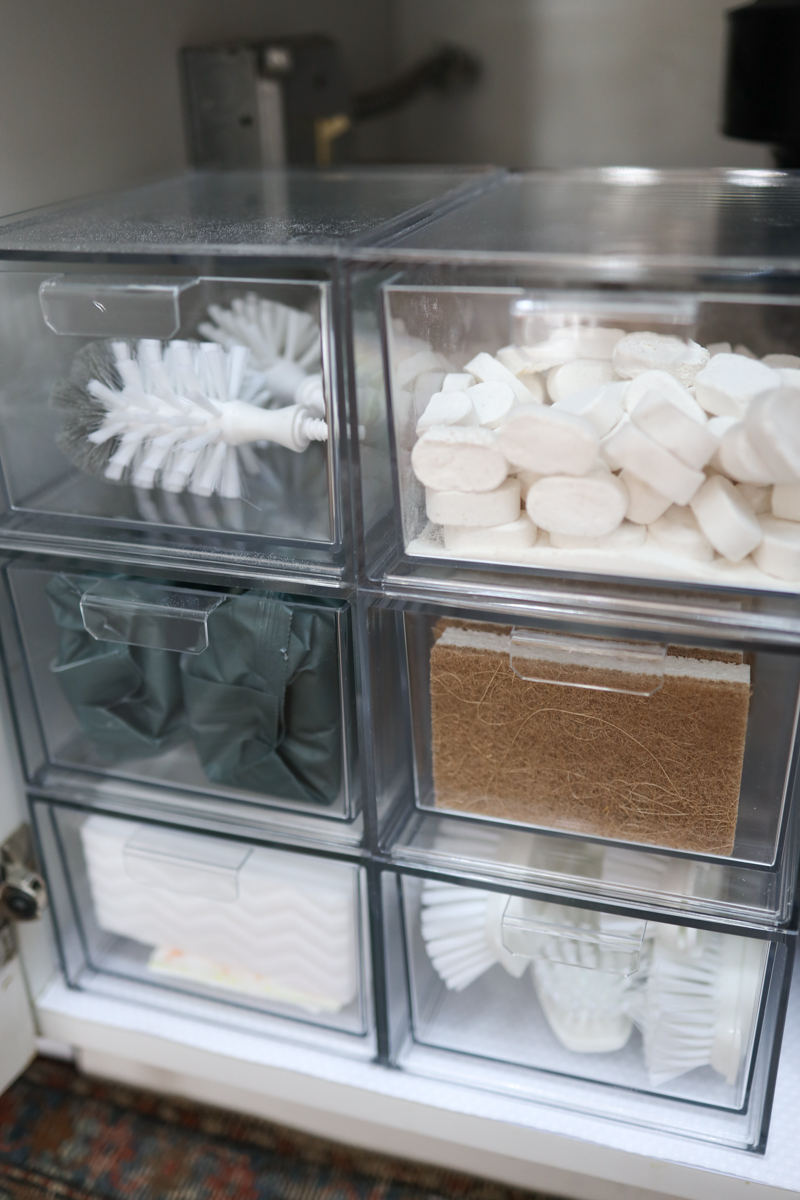
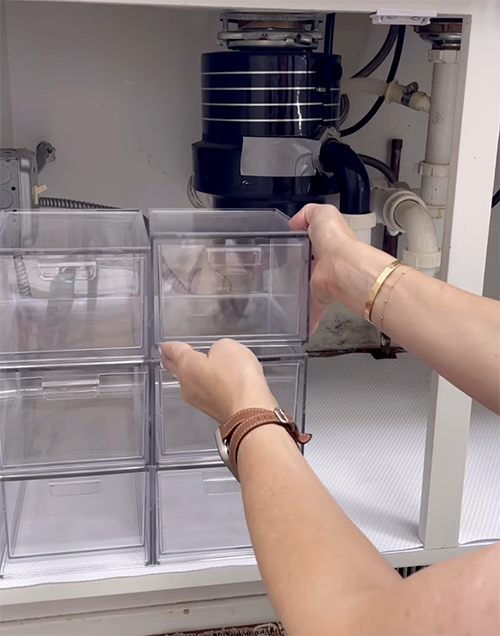
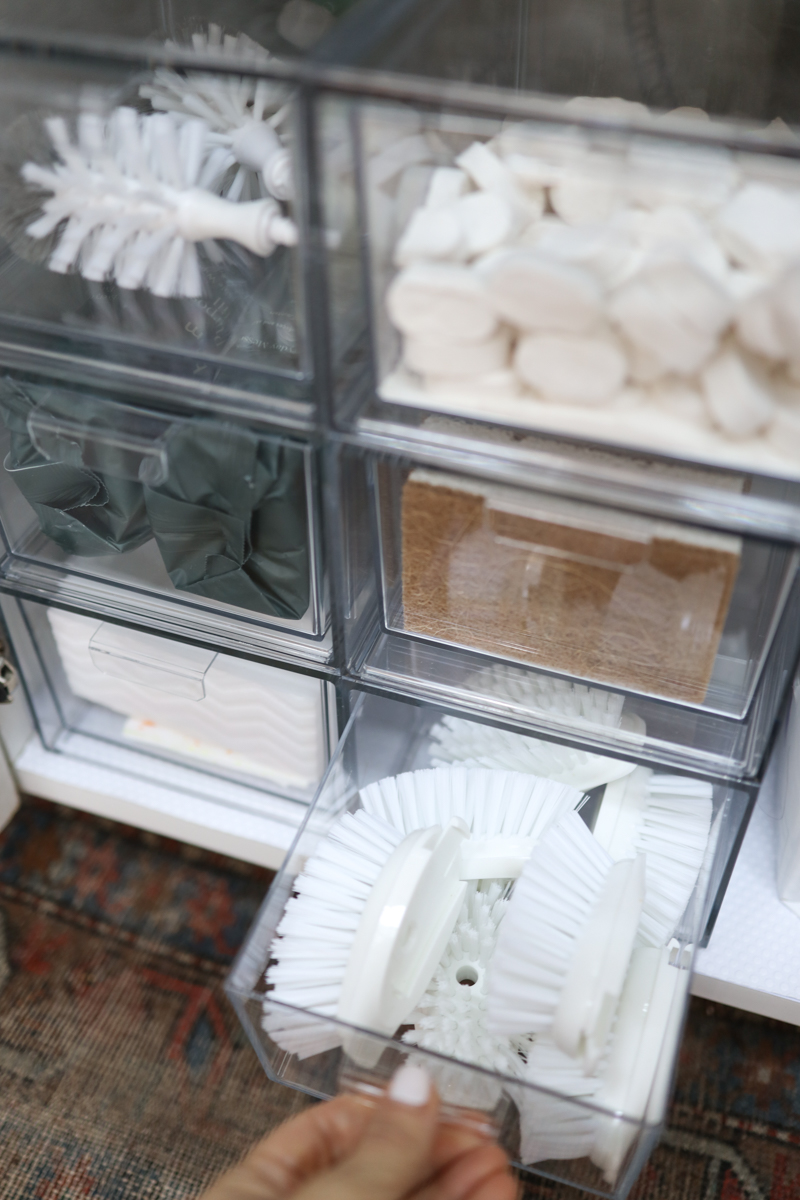
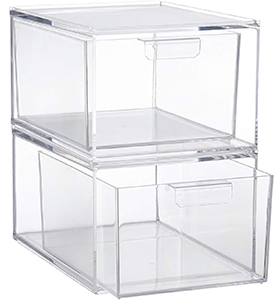
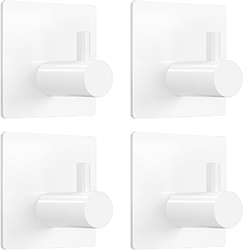
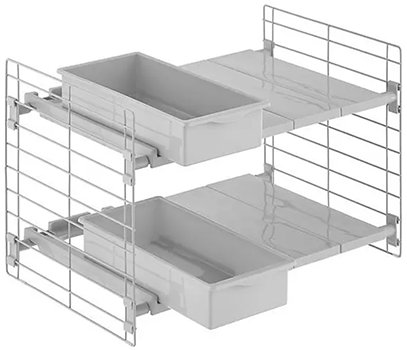
Once your shelving and containers arrive, it’s time to fill your kitchen cabinets. This was easy and only took a few minutes. I added plastic storage containers, shelving, and some command hooks to the inside of the cabinet doors. The stackable clear bins with drawers are a good use of the vertical space and the drawers function as small containers.
Step 5 – organize your cleaning products
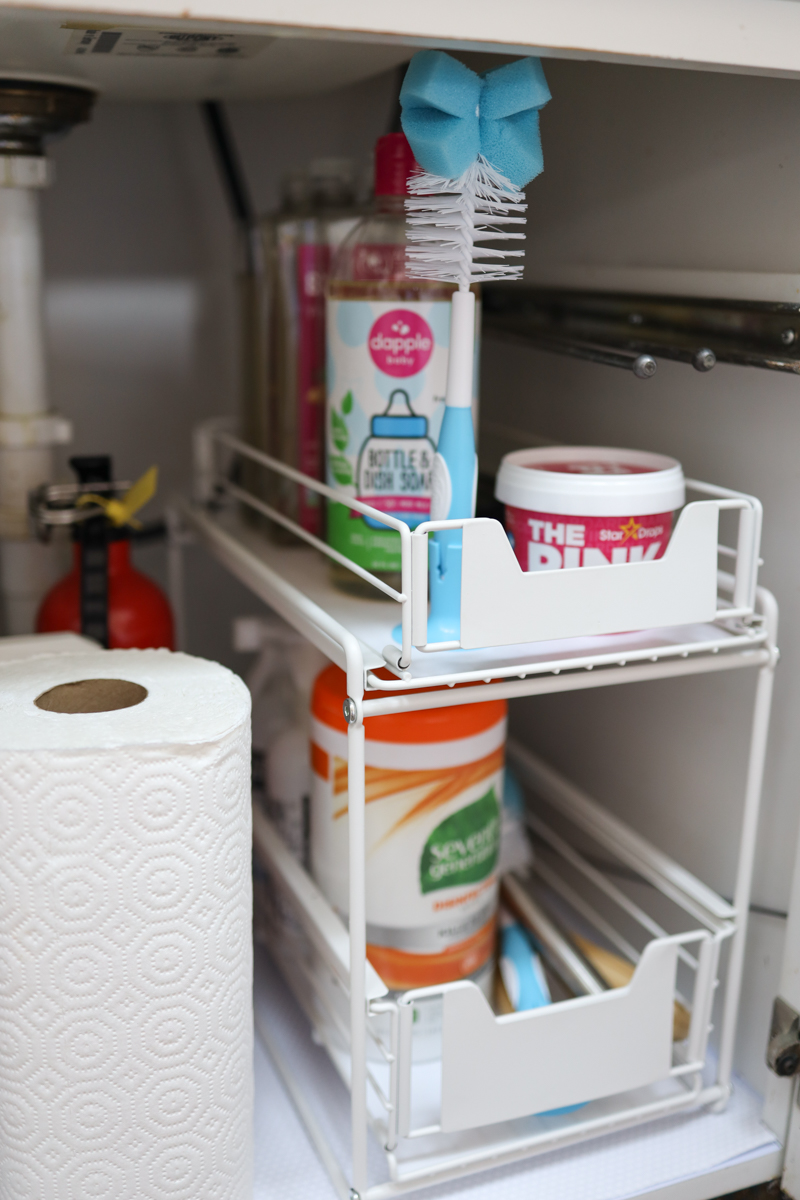
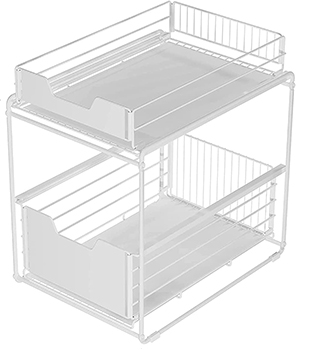
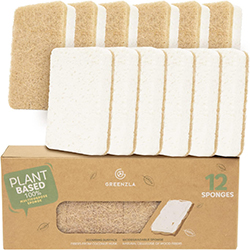
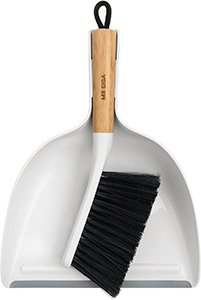
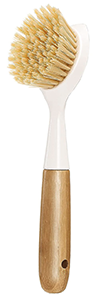
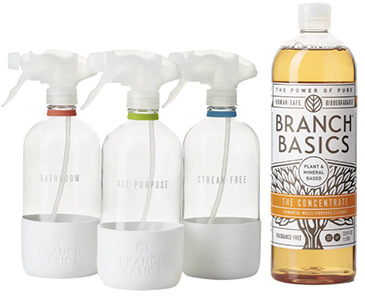
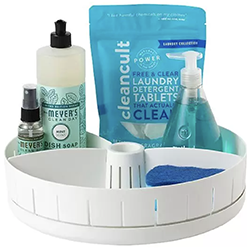
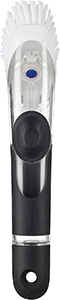
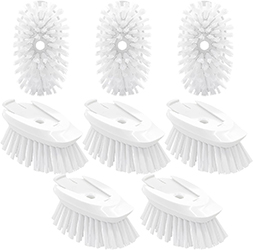
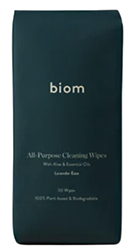
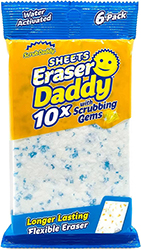
It’s time to organize and store cleaning supplies. I like to stock up on items that need to be replaced every so often, so having an organized system helped make this storage area functional and allows easier access to everything. These plastic containers are a great way to store small items like dishwasher tablets, sponges, and other essentials. Two tier shelving with pull-out drawers are great for dish soap, hand soap, scrub brushes, garbage bags, and extra supplies. I didn’t completely fill the space, so that left some extra storage for paper towels and other items.
How to Store and Organize Toys
Important note – do not leave harsh chemicals below your kitchen sink if you have small children and always add child safety locks to keep young children safe.
This post contains affiliate links – if you purchase something using my links, I may earn a small commission at no cost to you.