Career
Easy Graphic Design Tips for Your Business and Blog
When I started blogging in 2007, I had no idea what I was doing or where it would take me. From attempting to navigate complex design programs and eventually, organizing partnerships, and designing invoices and media kits – it was all so new. Whether you want to start a blog or small business, eye-catching graphics and visuals are key. I’ve always used Photoshop and still do, but want to share another program and some easy graphic design tips that have helped simplify my work/life.
Easy Graphic Design for Your Business and Blog
What do you do when you’re not a graphic designer and hiring one isn’t in your budget? Beautiful graphics are a must, and Photoshop is wonderful, but the learning curve is pretty significant. Canva offers everyone the ability to create and publish engaging content and beautiful visuals for their blog or small business. There’s (virtually no learning curve) and is the perfect tool for small business owners or bloggers who are not graphic designers, but want to create beautiful graphics.
Do I still use Photoshop? Yes. Daily. And in some cases, I prefer it. I’m a little bit old and have been using it for almost half my life, so sometimes, you have to go with what works. But there are some perks to Canva that I really like, and if you’re new to graphic design, it is the way to go. Creating product roundups, invoices, graphics, and even a media kit is easy with the drag and drop feature.
Even if you know how to use more complex programs, coming up with a design can be very time-consuming. Canva offers thousands of templates and graphics. I use both the Canva Pro app and website to create graphics, and everything saves to to one account, so I can create something when I’m at the computer, and easily access it on my phone later. The drag and drop editor makes it easy for users without a design background to build documents and designs from scratch. You can even add your brand colors and fonts to keep things consistent.
Use Canva’s Templates (there are thousands to choose from) to:
Create graphics for your blog and social media platforms – from product roundups to graphics for Instagram stories and even in-feed quotes and charts, Canva has beautiful templates that will help you create eye catching graphics.
Creating branded images – add your logo, website URL, and other branding marks to create beautiful graphics.
Pinterest images and video pins – Create beautiful graphics to create product pins and pins for blog posts.
Edit photos – enhance photos, resize images, and add graphics to photos.
Branding materials – business cards, infographics, digital products, letterhead, presentations, logos, eBooks, advertisements, and so much more.
These are all things you can do in Photoshop if you know how. But most of us…do not. And again, I still use Photoshop (almost) daily, but really like having Canva for quick/easy graphics. And the background removal tool has been key for product roundups. So let’s talk about how I create those.
Easy graphic design tips for your blog
Over the years, one of my most-asked questions has been “how do you create product roundups?” and until recently, it was something that took very specific design skills and an expensive program. I’ve been creating those graphics in Canva and it’s easier than ever. Thanks to the easy-to-use, one-click background removal tool, you can add an image, click a button, and voila – your product is background-free. Just import, click, drag and place. Thanks to Canva, these graphics, which are essential when you’re running a blog, can be created quickly and easily.
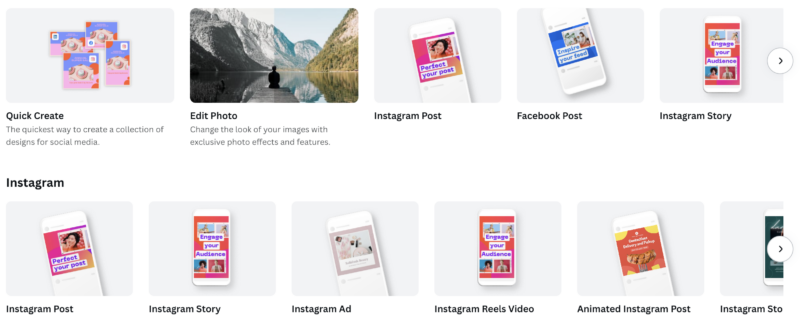
Once you’re logged in, click “create a design” and use a template or create something from scratch.
I really like the Unfold app for social media graphics (mainly for stories) but Canva has been great for adding text to images, and creating graphics on my computer or phone.
In-feed Instagram graphic design tips
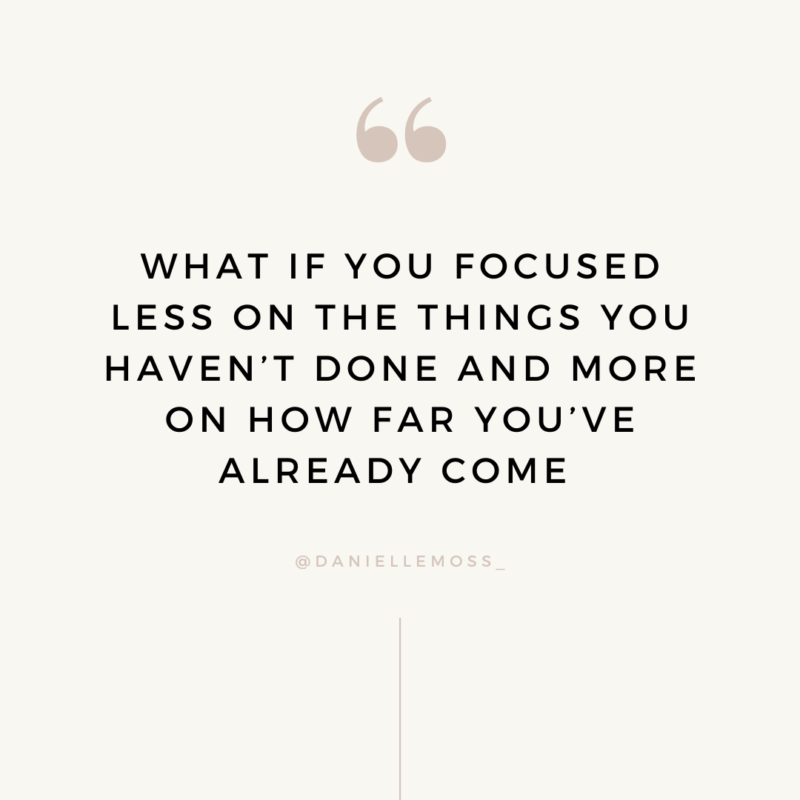
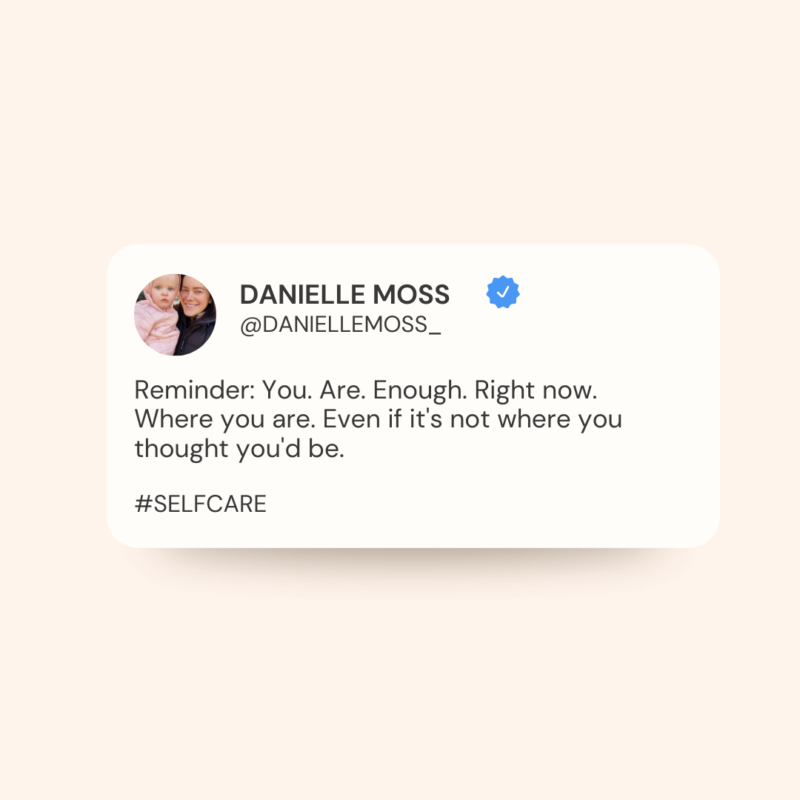
I used this template to create an in-feed graphic for instagram, but first, made it my own. Edit fonts, colors, and even remove or edit graphics that might not fit your aesthetic. The drag and drop templates make editing fonts, colors, and placement so easy.
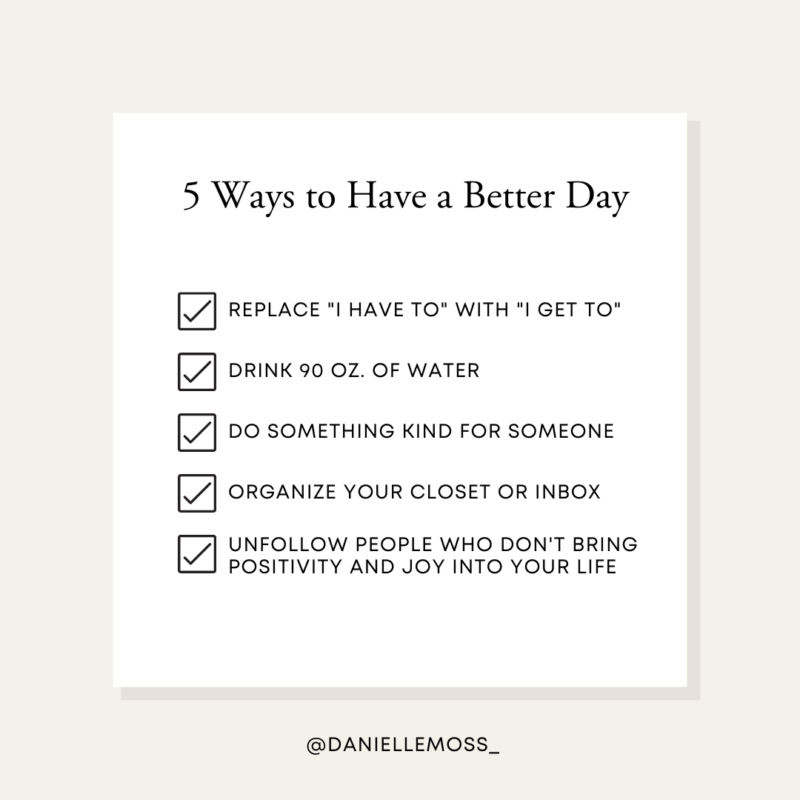
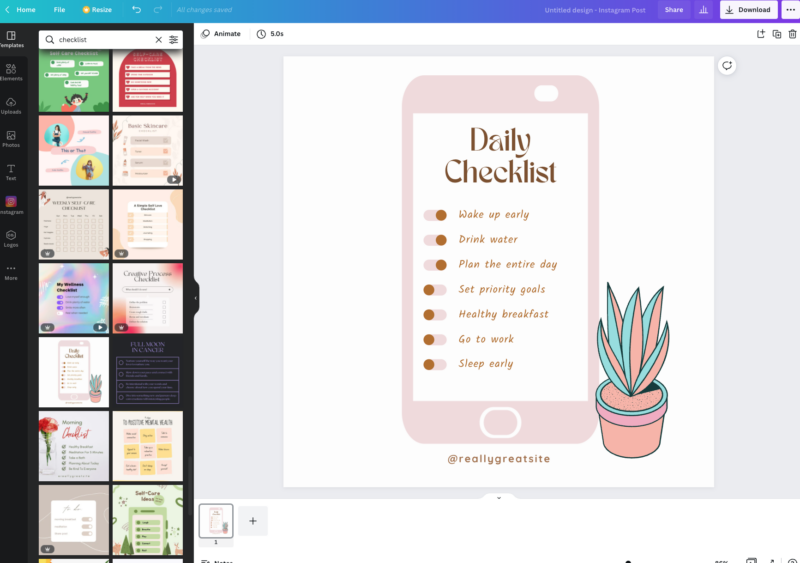
Select a text box, change the copy, and choose your font. You can also edit letter spacing, line spacing (vertical), the color, and placement. I know I keep saying how easy it is, but look at this.
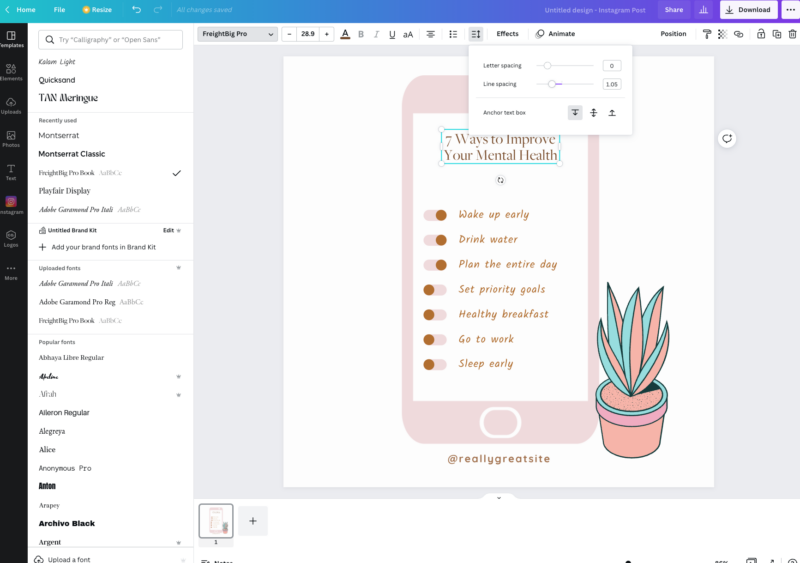
I edited each point, then selected all of them at once to change the font color and style.
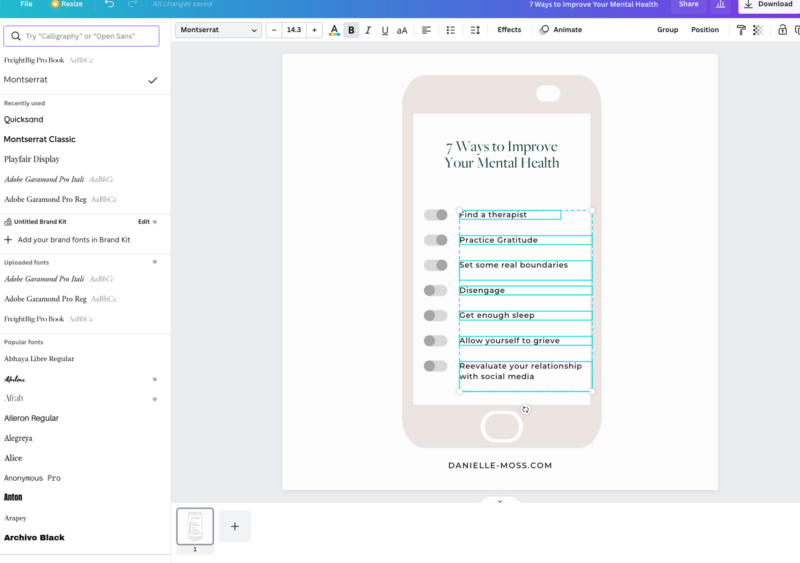
Here’s the final graphic! Clean and simple, just the way I like it.
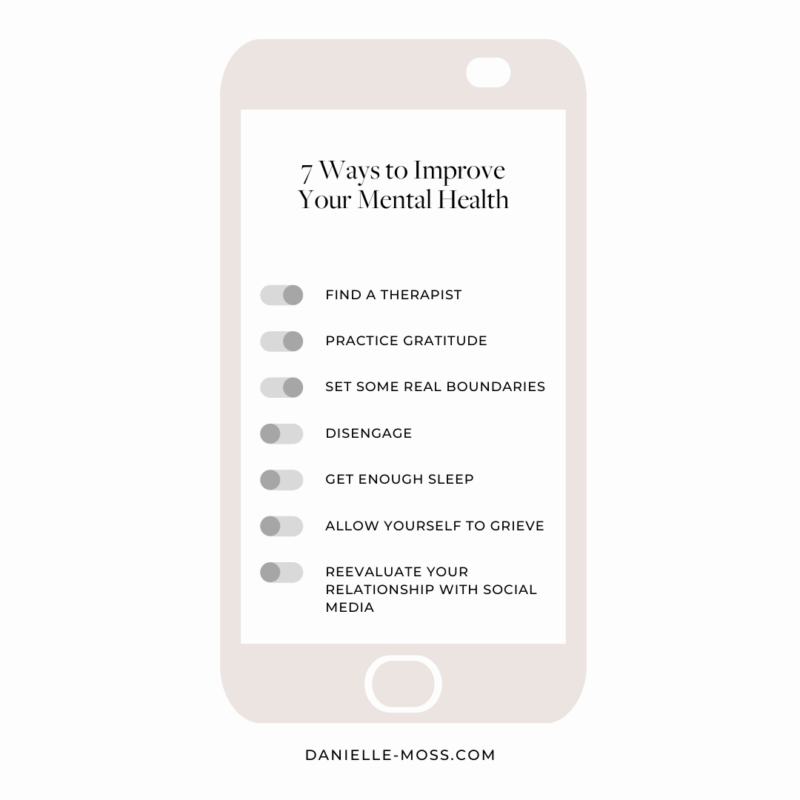
This quote took less than a minute to edit, and engagement on IG was fantastic. I could have designed this on my own in Photoshop. But why would I spend time doing that when this takes less than half the time?
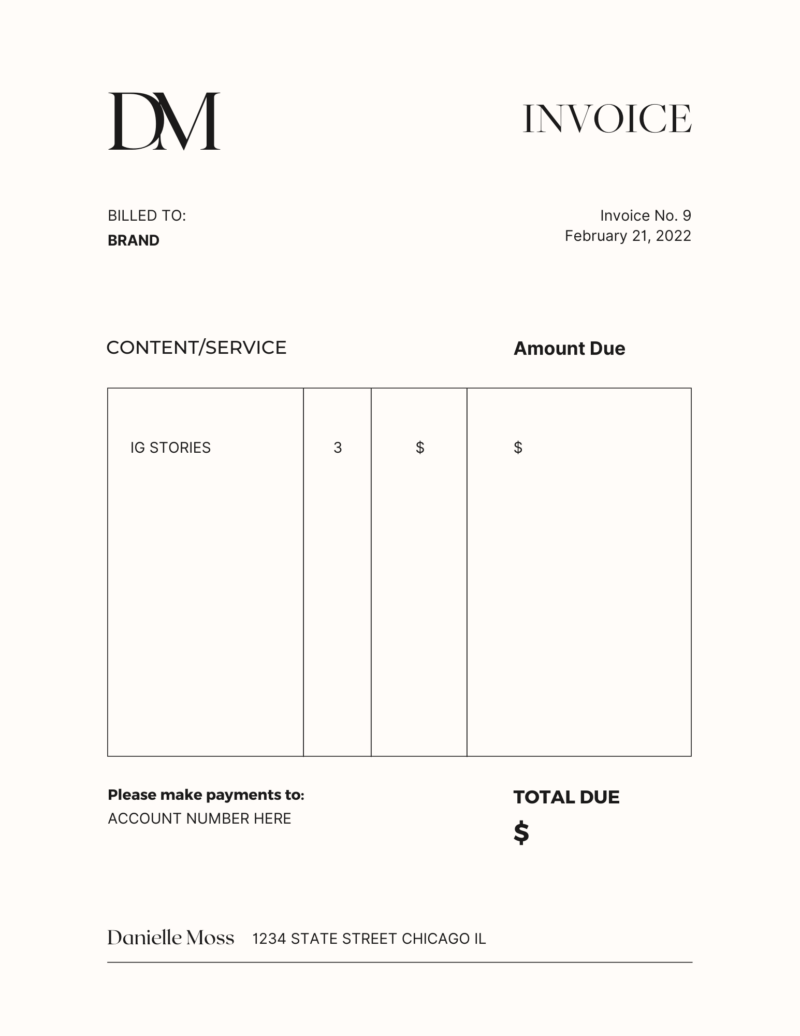
How to create invoices
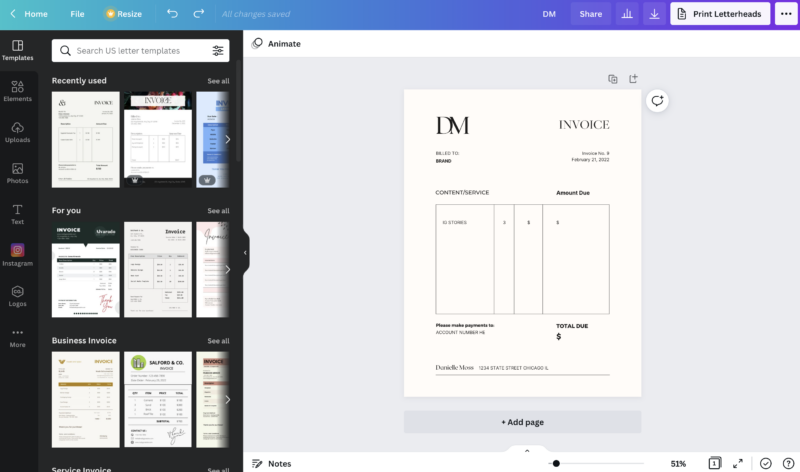
My old invoice design was fine but I used adobe to update it and it was just annoying. Creating a new invoice was so quick and easy, and updating it is so easy. I like that I have access when I’m on my cell, too. Choose a pre-existing invoice, add your information and name or logo, and save as a PDF.
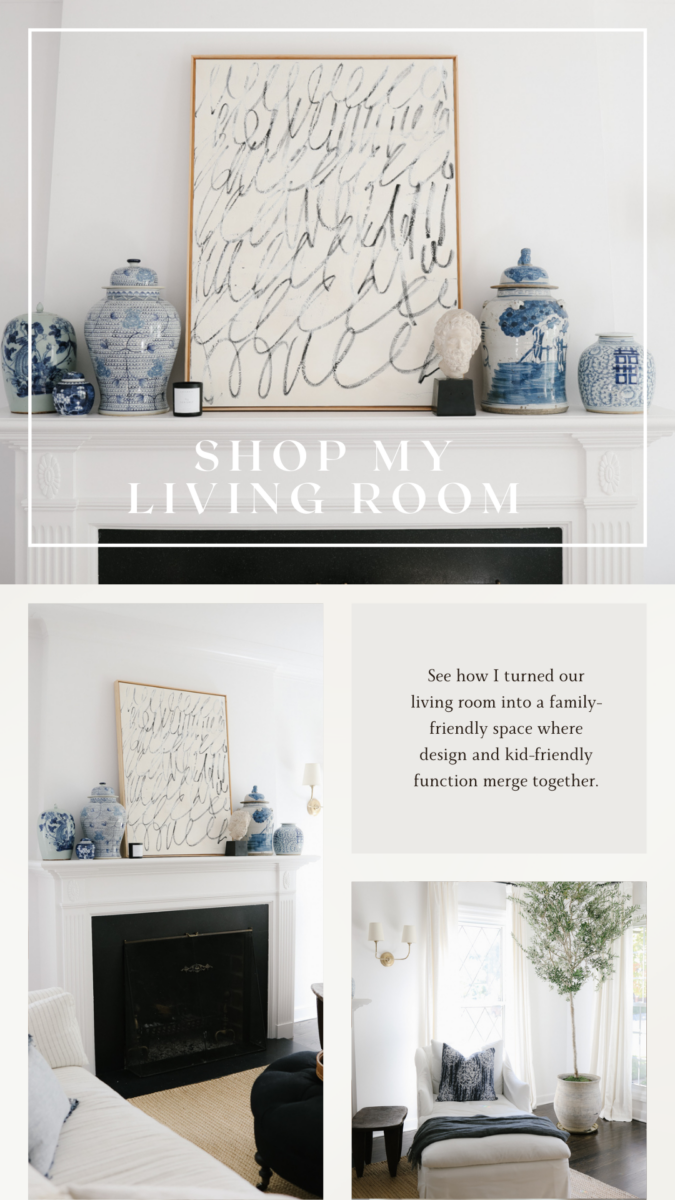
How To create instagram stories
Create beautiful, clean instagram story graphics that increase engagement. I turned this template into this. Again, I can do this in Photoshop, and unfold has some great options, too, but I love how easy Canva is to use.
How To Create a Media Kit
My old media kit was designed in Photoshop, and each page was saved as a JPEG and then uploaded into an adobe acrobat doc, and saved as a multi-page PDF. It was fine, and looked nice enough, but updating was annoying.
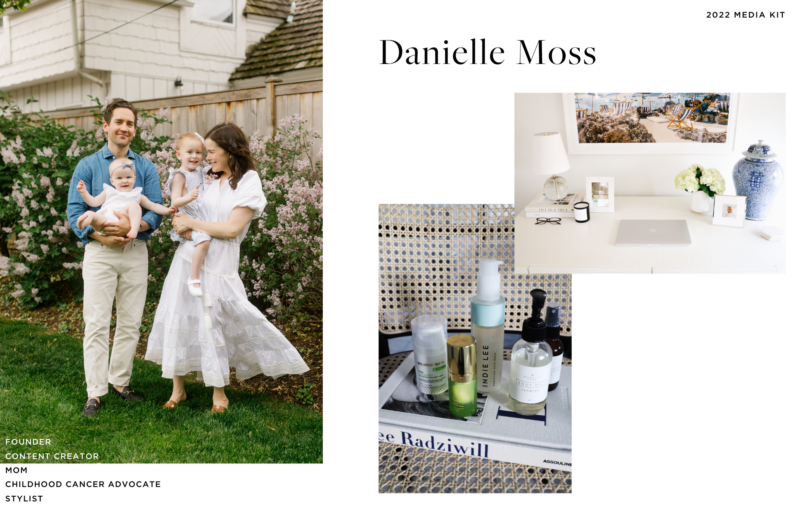
I did design this one myself. Just click “create a design” and “custom size” – I went with 11×7″ for my new media kit, and clicked “add a page” to add more about me, my reach, offerings, and pricing. Save as a PDF, and you’re ready to send.

