Blogging
How to Quickly and Easily Edit iPhone Photos


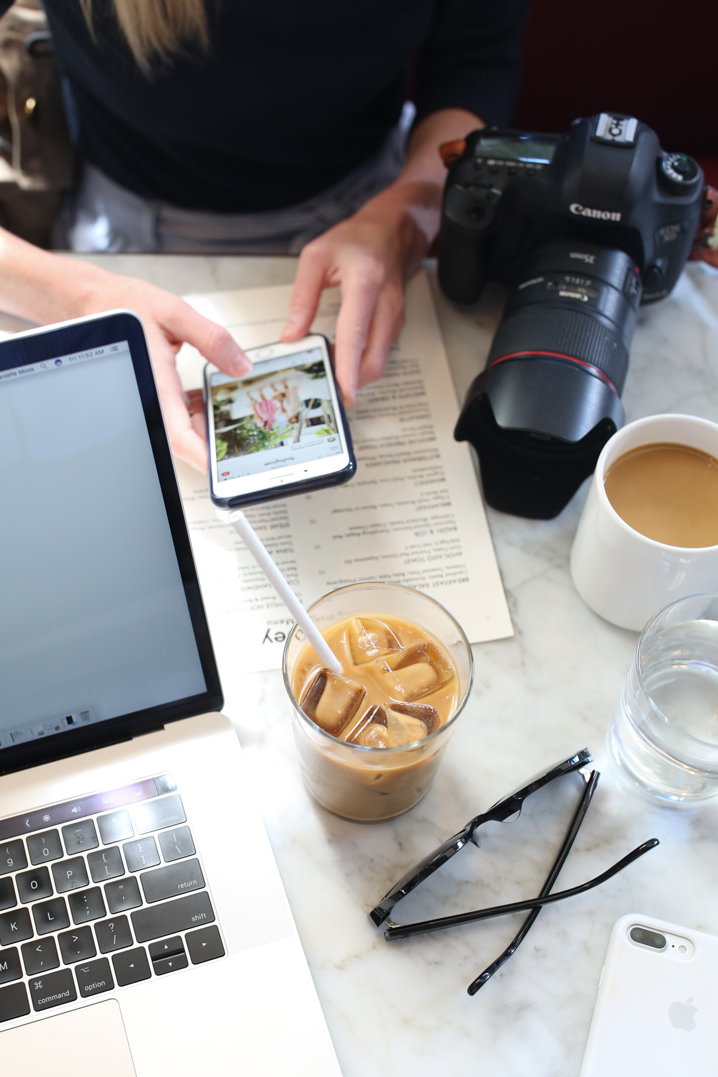
Every so often, I’ll get asked how I edit photos for instagram. Almost all of my photos are shot on my iPhone 6, although I do have a Canon Mark iii and Fuji XT1, too. If you’re just looking to take better photos while traveling or day-to-day, I’d recommend the Fuji XT1 or X100T. The T1 offers interchangeable lenses, and the 100T comes with a 35MM equivalent, similar to the iPhone. I want to share how to edit iPhone photos for your blog and social media.
How to Quickly and Easily Edit iPhone Photos
It’s so much easier to be able to upload iPhone photos to my blog, but I want to share good photos here.
So let’s talk about how to shoot and edit iPhone photos
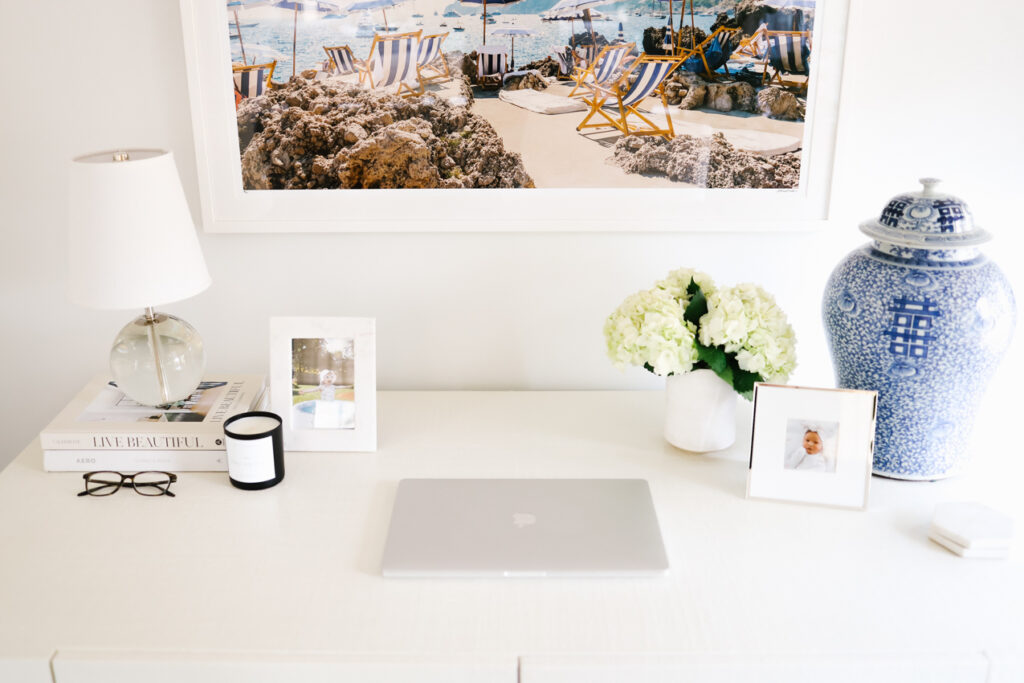
First of all, I shoot in natural light whenever possible. The above photo looked like this pre-editing. It’s pretty but was shot on a gloomy day, and wasn’t very bright.

My editing process is usually fairly simple. I start in VSCO (my favorite photo editing app) where I alternate between the A6 and S2 filters. See the dots below the photo? You can adjust the filter’s strength using that bar. I never really go below 10 or 11.

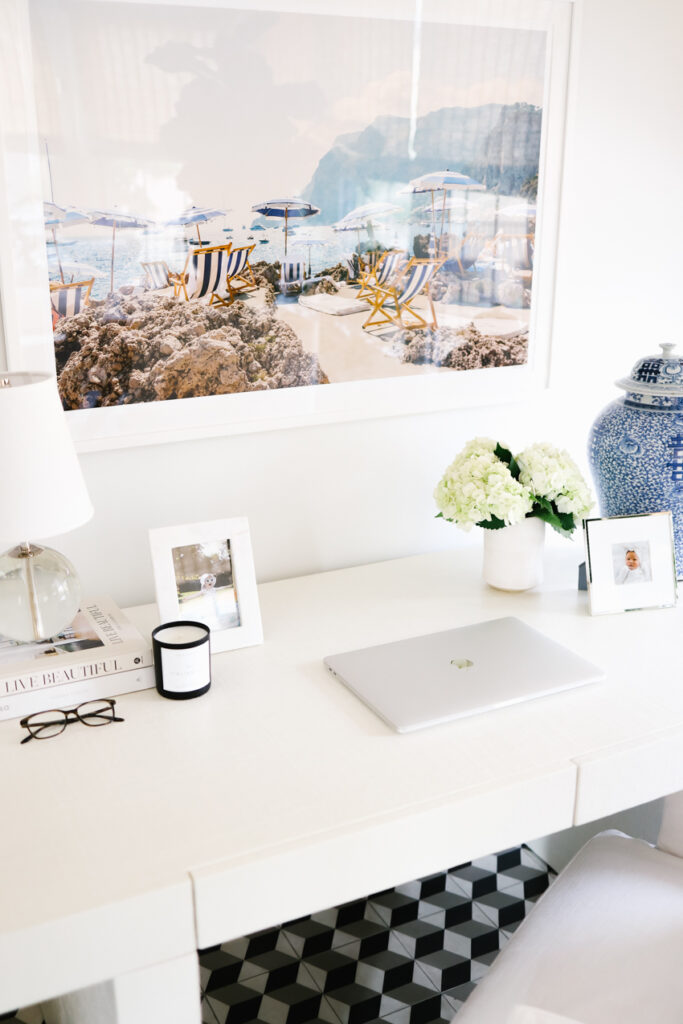
I then export and save, open in instagram, and up the brightness a little bit.

Go back to that first gloomy photo. So much better, right?

Last weekend, I shared this photo of my dogs.
 Look at the immediate difference after adding the S2 filter.

And then increasing the brightness.

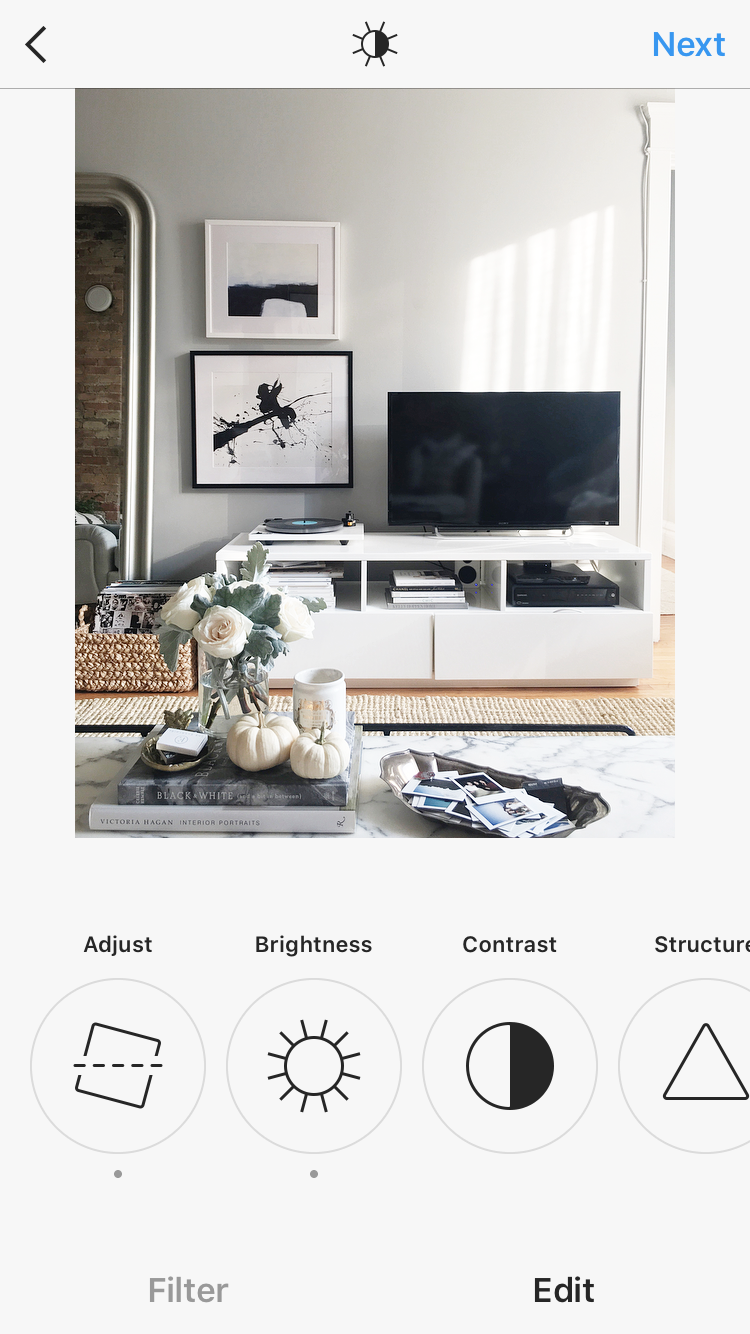
And my living room. I shot this during the day, but it was cloudy and not nearly as bright as I wanted it to be. 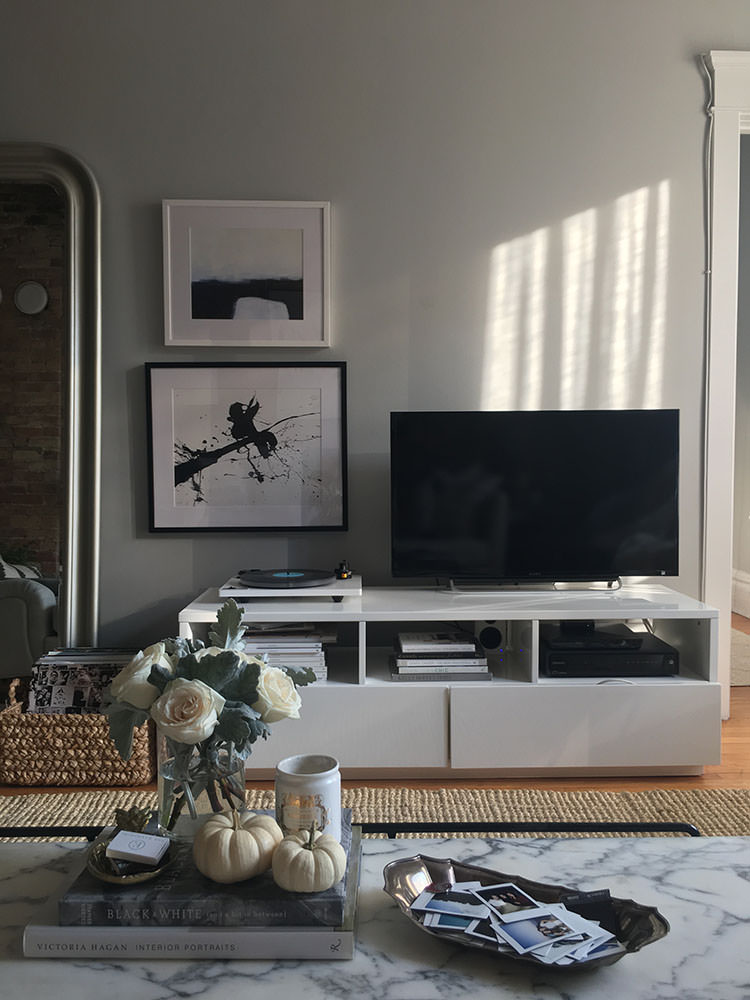 So I added the A2 filter.
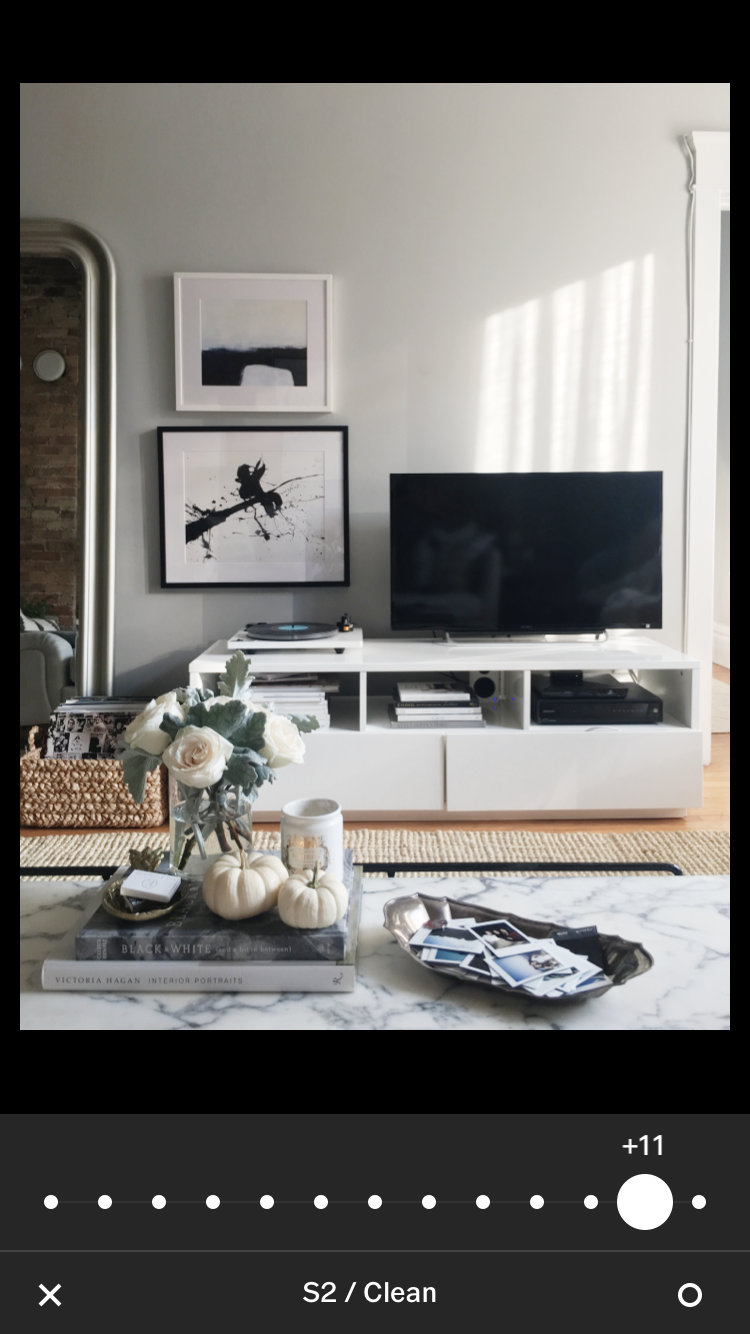
Upped the brightness and clicked that little sun button at the top to add a little clarity. Don’t overdo it–keep it at around 20.
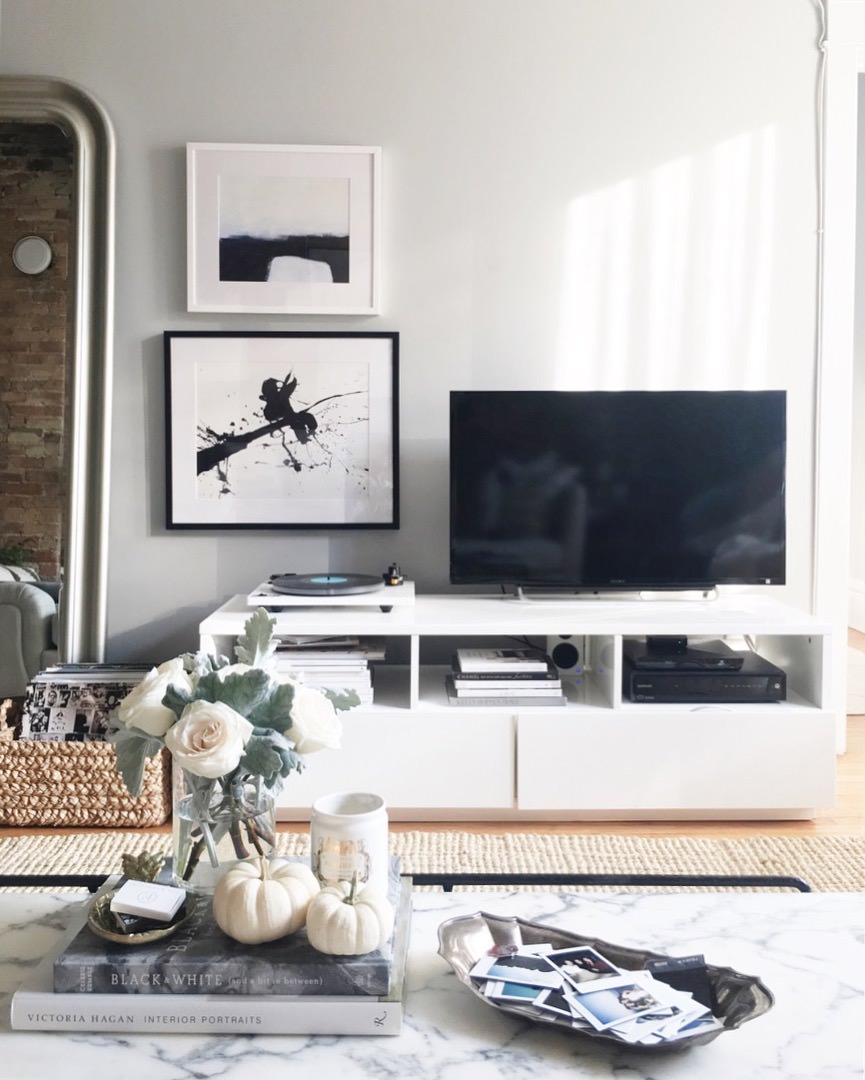
And the finished product.
So there you have it. A quick and easy way to up your instagram photo game.
How to Start and Grow a Blog