Dollhouse
Dollhouse Makeover: How to Easily Install Dollhouse Wallpaper and Flooring

I fully blame this little project on the fact that I’ve been home for nine months, but I decided to add some flooring and wallpaper to Margot’s holdie house and it all spiraled from there. Then I fell head first into a dollhouse rabbit hole. The last few weeks after the girls were asleep, I found myself searching the internet for dollhouse flooring, wallpaper, and furniture. There’s a whole world of beautiful little dollhouses and it’s really something. Here’s my dollhouse makeover!
Dollhouse Makeover: How to Easily Install Dollhouse Wallpaper and Flooring
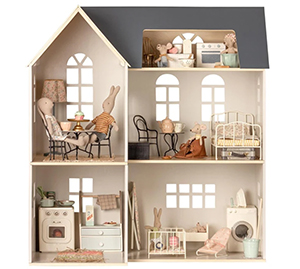
I am in no way one of those people who’s going to find myself making furniture and kitchen cabinets (look at this – it’s incredible), but my guess is that most of you won’t be doing that either. So, because I’m not a crafty DIY kinda gal, I thought I’d share a quick and easy “hack” if you will. This isn’t perfect but it was easy and Margot is thrilled with all the pink.
How to get started
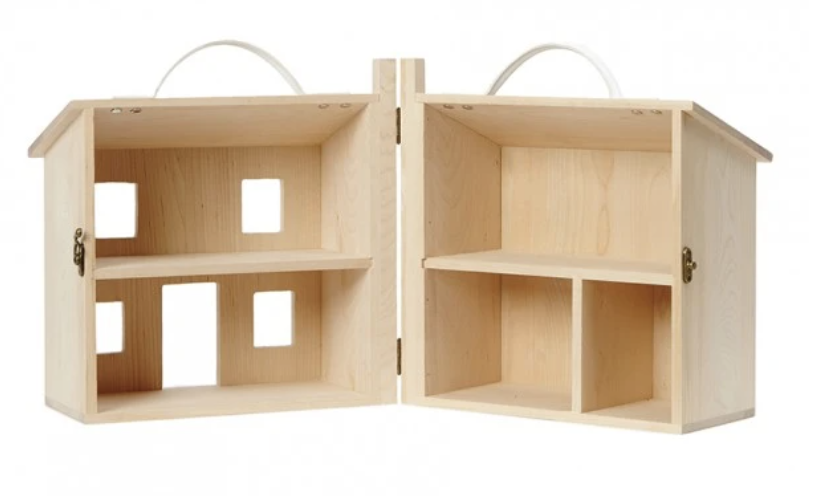
I started with the Olli and Ella dollhouse which I would recommend because it’s $85 and not a huge project. You can find an amazing vintage dollhouse that needs a lot of work but I’m just not there. Margot got the Maileg house for Christmas, so I’m slowly starting to cut the herringbone floor for that one but wallpaper feels daunting. So many arched windows and ceilings. It’s a touch more involved so we’ll see how that goes.
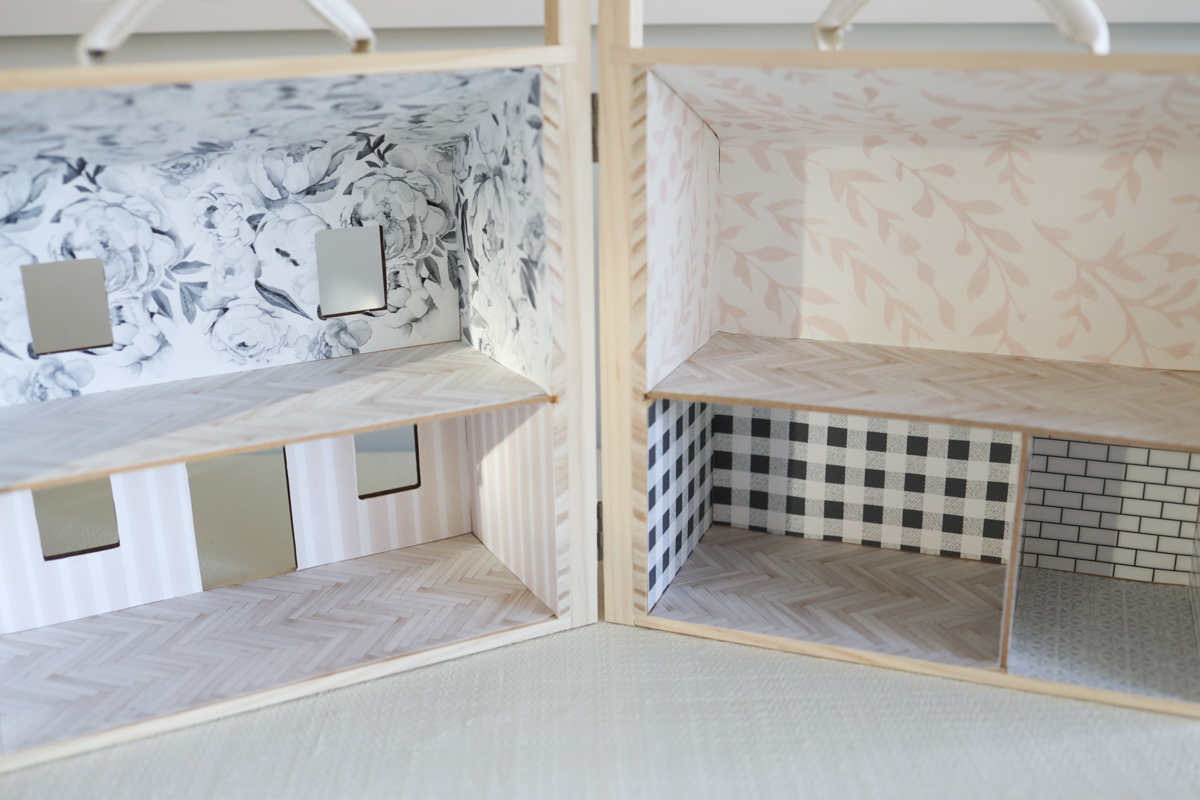
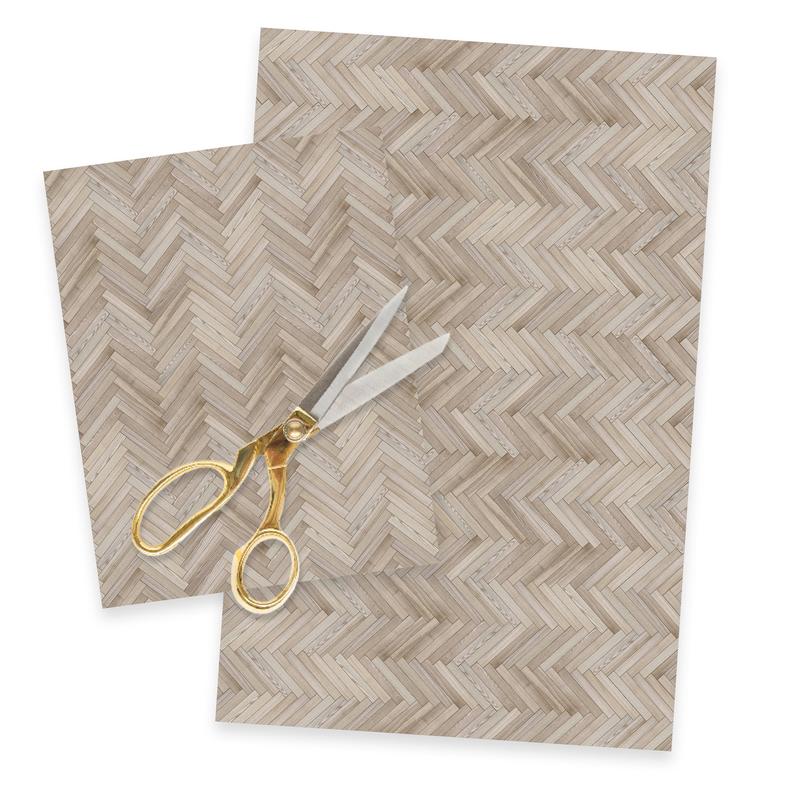
I’ll explain all the steps here and will link to everything I used at the bottom of the post. I should note that I edited the coloring of the herringbone paper in photoshop since I wanted it to be a little lighter.

How to measure without a ruler
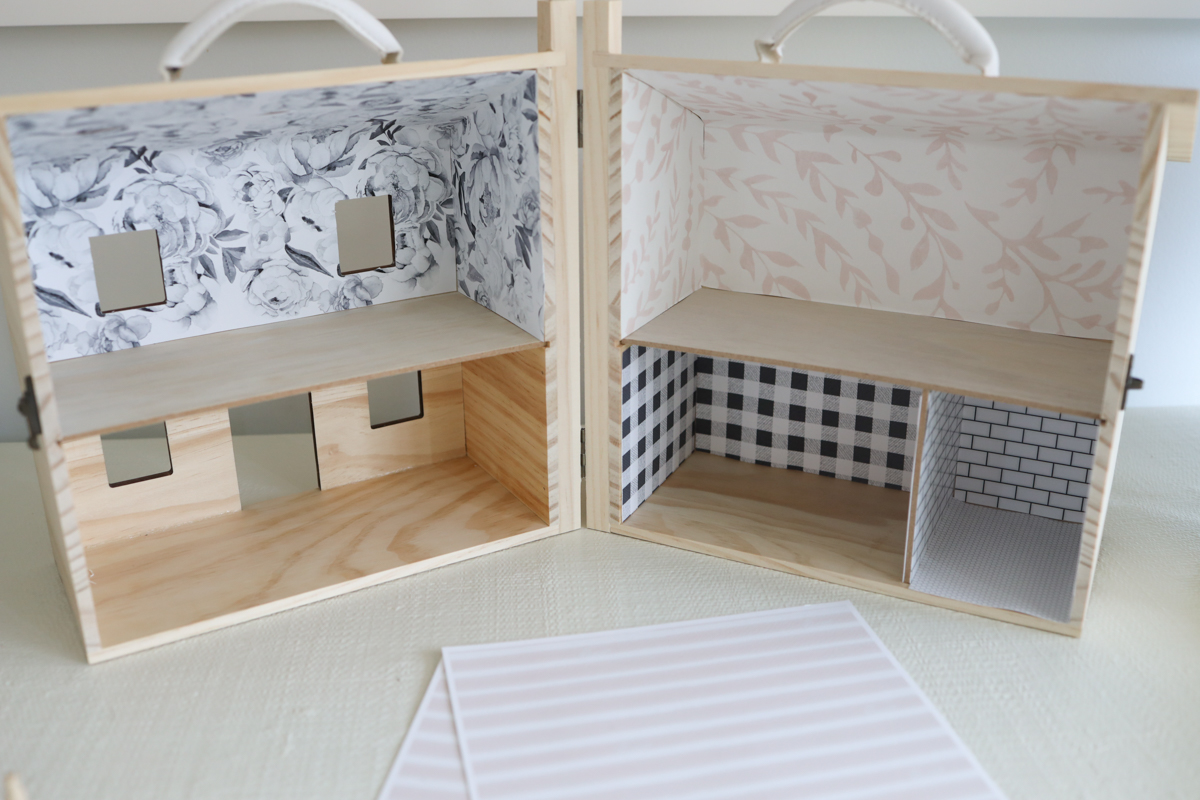
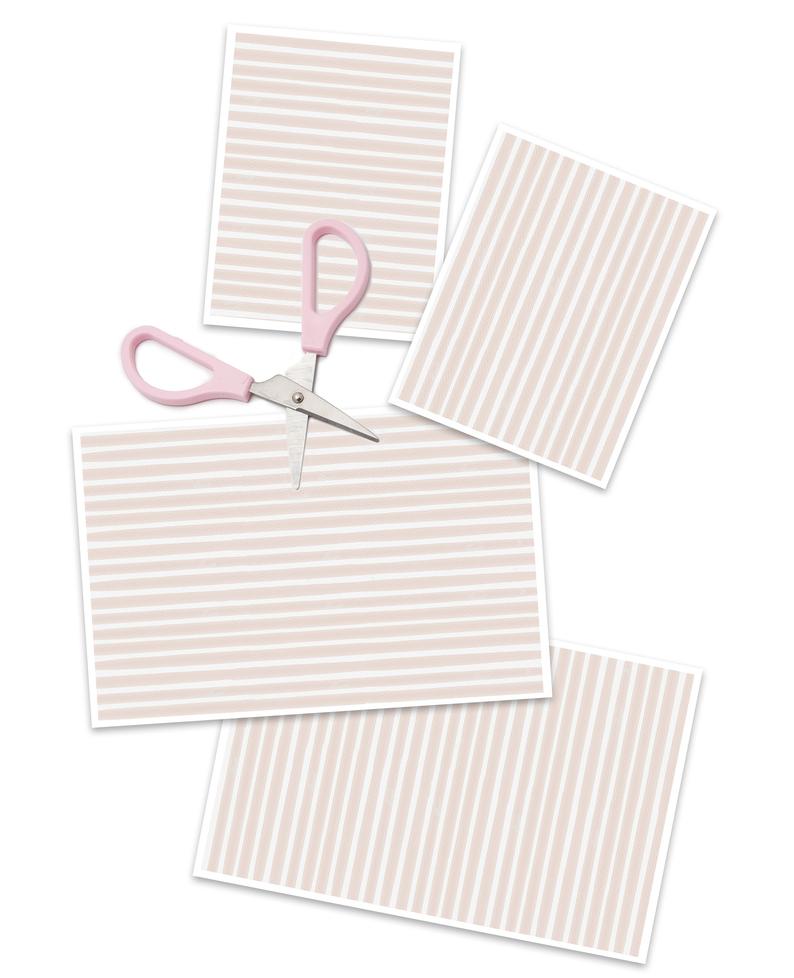
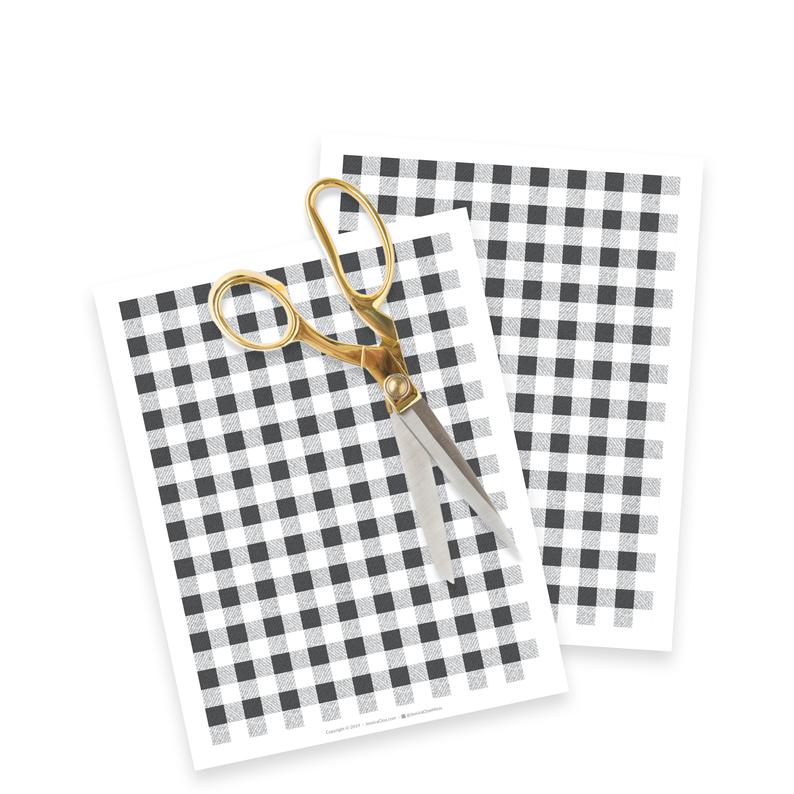
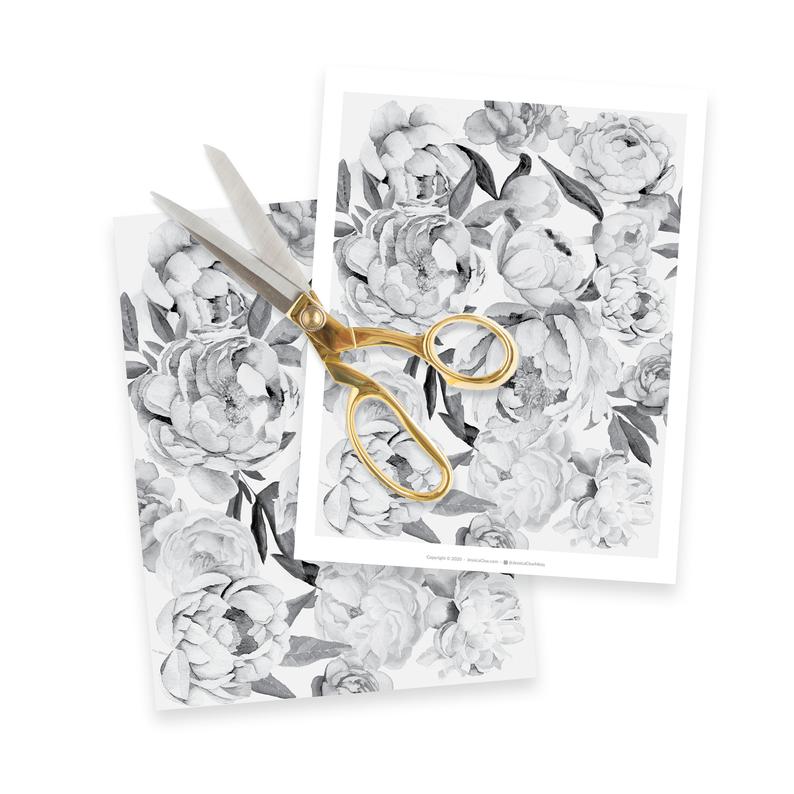
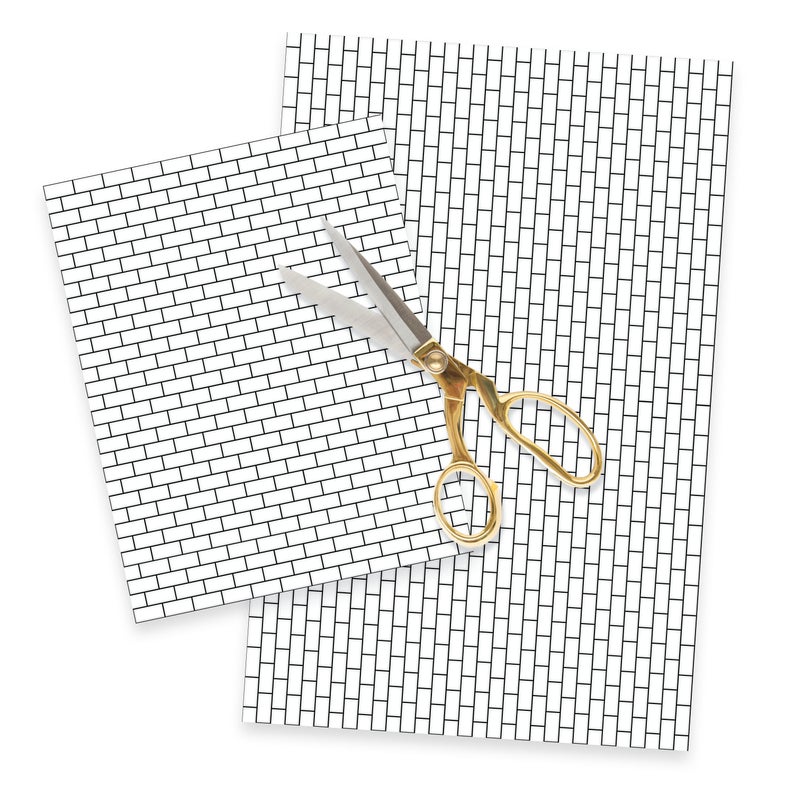
I started out by holding the paper up to the house and pushing it down at the edges, making creases, and cutting what I hoped was a straight enough line. See? Easy. I used leftover wallpaper from Margot’s bedroom and the other paper was all purchased on Etsy. Printable paper is so easy and budget-friendly. Most patterns are in the $5-6 range and can be printed on card stock. We have this printer and love the ease and quality.

How to cut and install dollhouse wallpaper and flooring
Once I got to a corner or edge, I would fold the paper over and make a crease, and then cut on that line. Like I said, this process is not perfect but it looks pretty good to me.
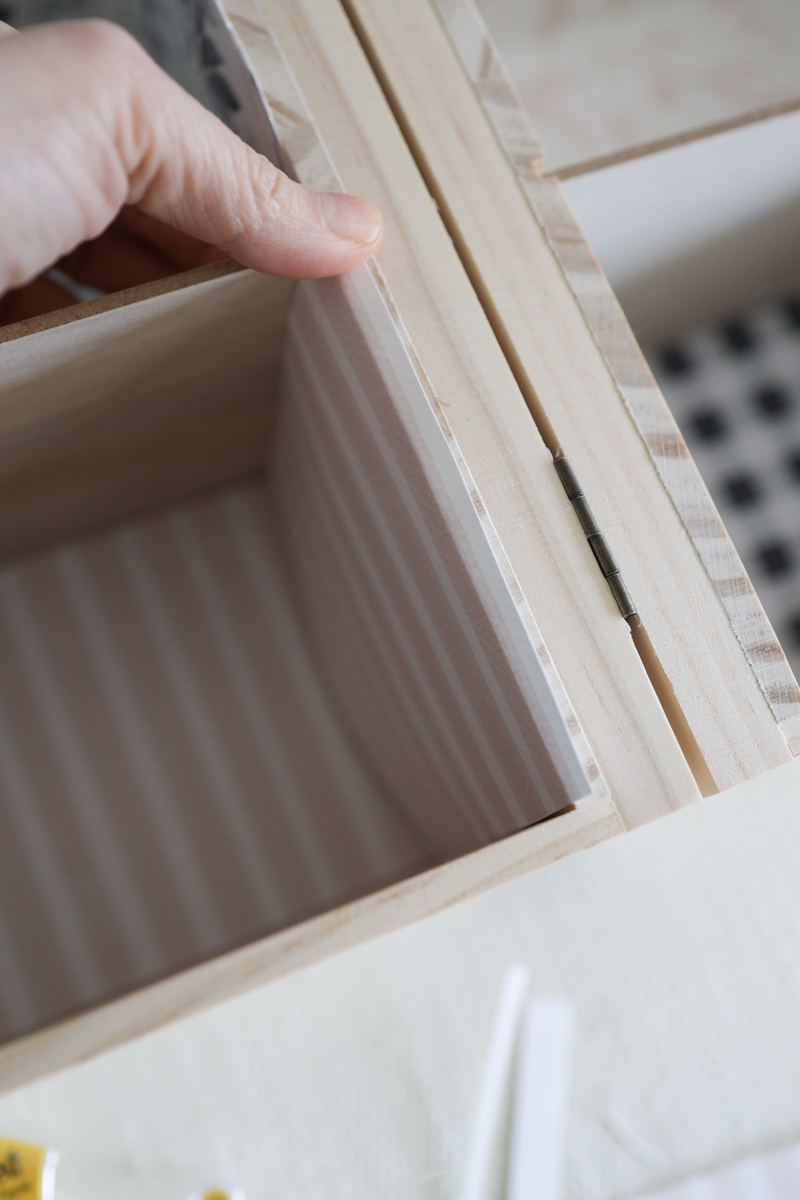
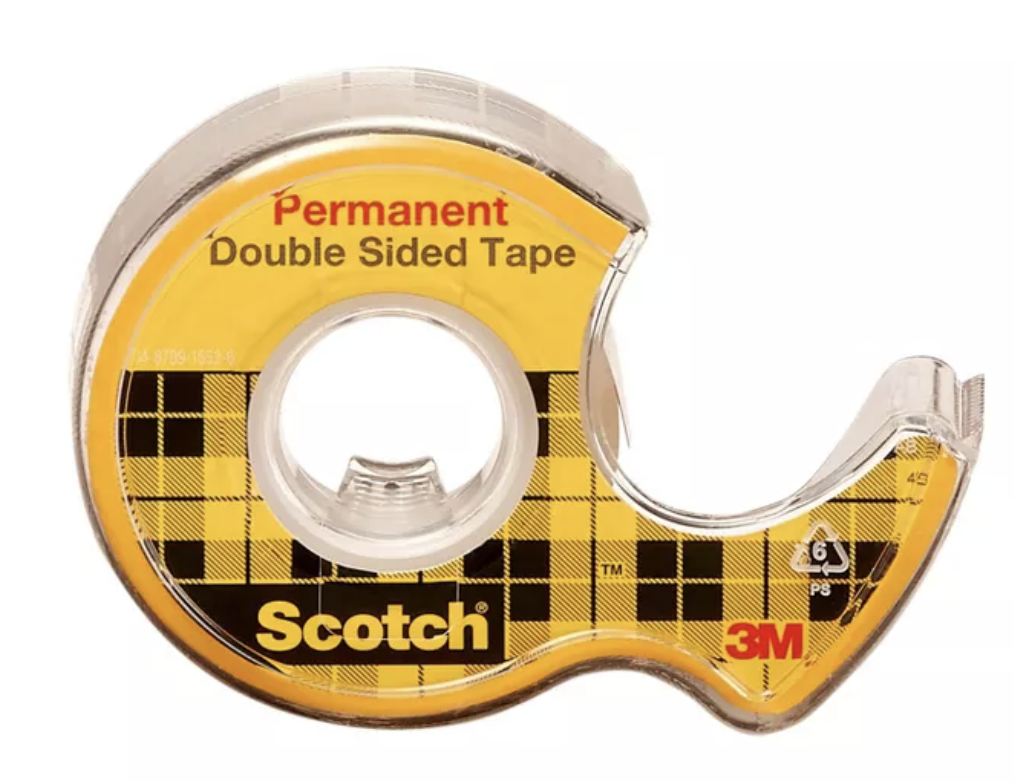
Once the piece was ready to be installed, I added double sided tape to each corner. It holds well but isn’t permanent like wallpaper paste, so it’s easy to remove if you mess up or want to change wallpaper out.
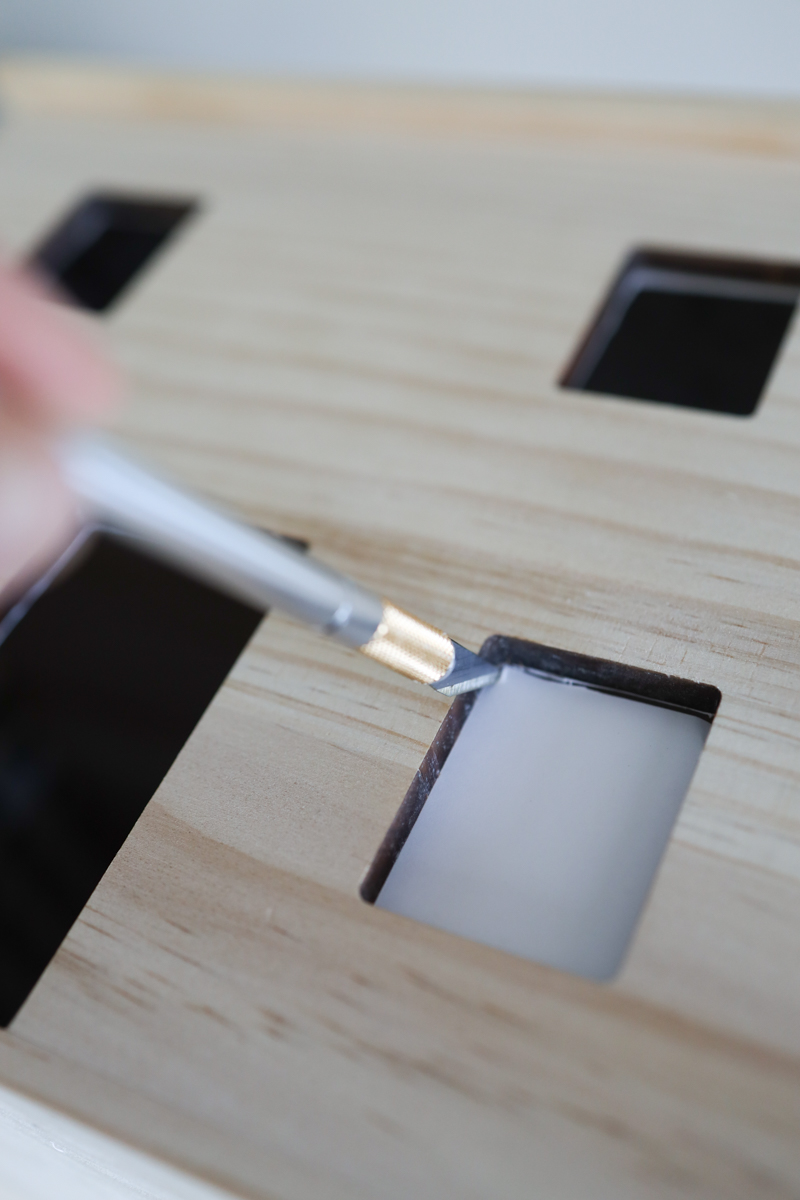
I also added tape to the house directly around the windows and used an x-acto knife to cut the door and windows.
I did the pink floral room first and learned that if I folded the side wallpaper up on to the ceiling, it would hide the crease from the back piece. You can see the difference in the black and white floral room. Margot is thrilled. I used leftover paper from her bedroom and found a paper inspired by her bathroom since that floral pattern would have been too large.

And there you have it. The quickest and easiest dollhouse hack you’ll ever see. I’ll be back with a post on some of my favorite furniture and accessories soon. A tiny part of me wants to add shingles to the roof and I love the idea of adding baseboards but I don’t know the first thing about cutting wood, so we’ll see.
Here’s everything I used for our dollhouse makeover
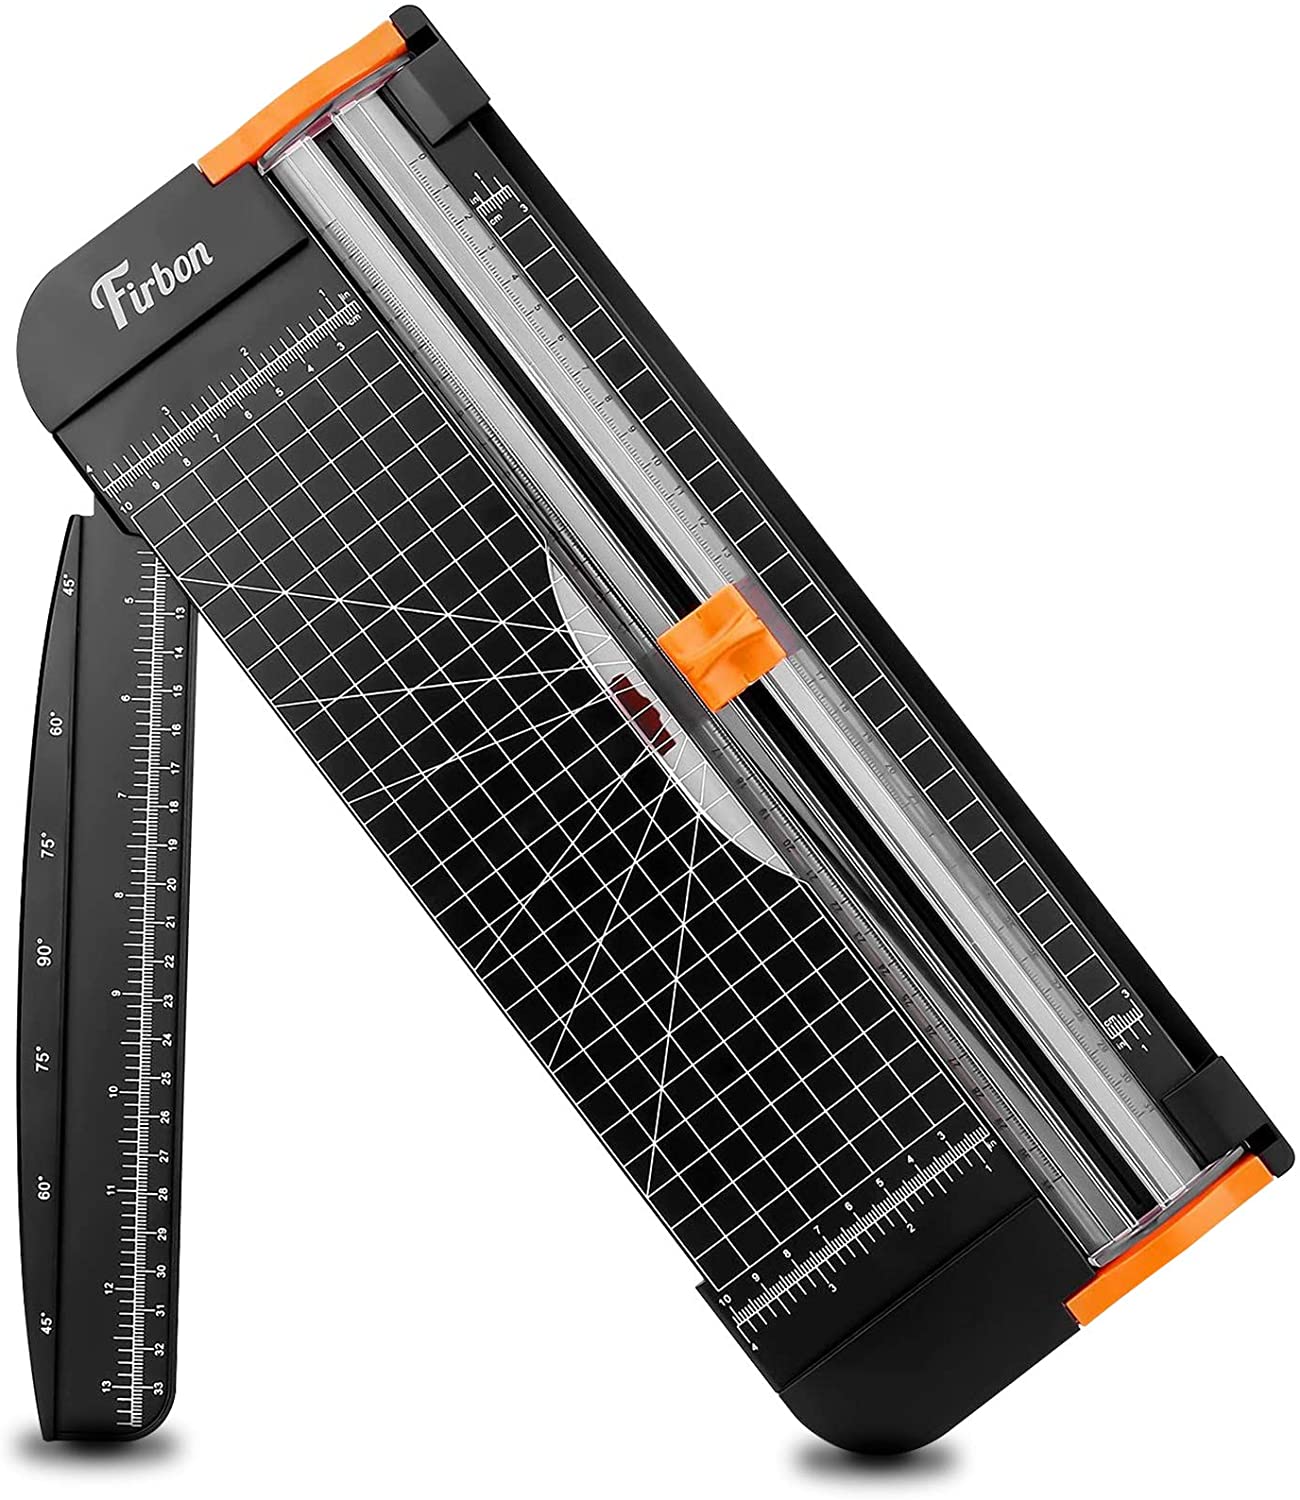
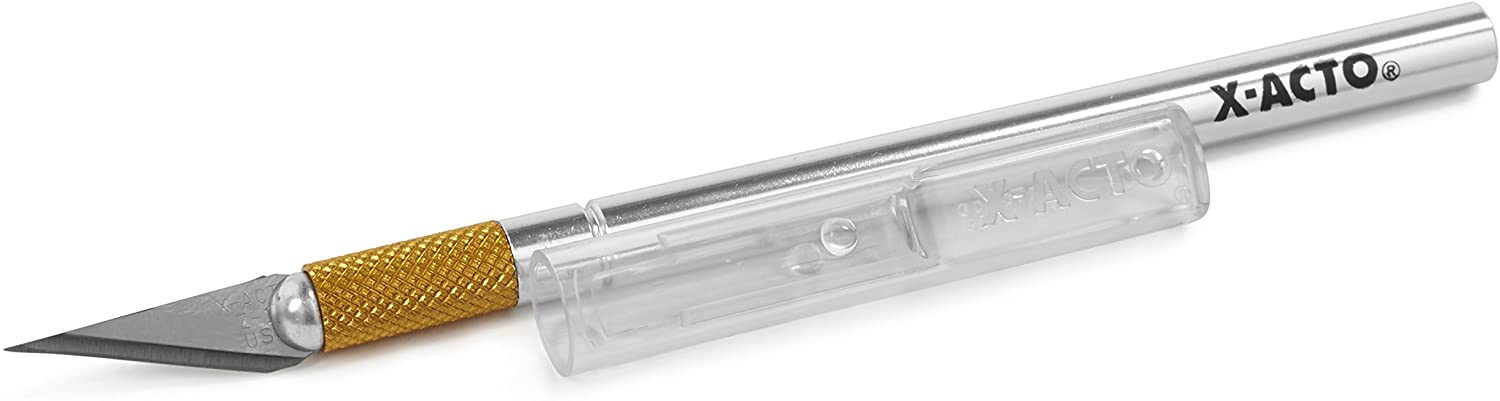
If you purchase something through a link on my blog, I may earn an affiliate commission. There will not be any additional cost to you, and please know that I appreciate you supporting the time I put into this post. Thank you!